
Expression Pedals: How-to Guide for MIDI Motion
How-to guide for using expression pedals with BRIDGE controllers
Where Did 'Expression' Come From?
If you're new to MIDI, the word 'expression' may seem a bit obscure to you. It's used in lots of ways in music in general, but when we get to MIDI it has a very specific meaning.
Expression is a control originally intended for creating crescendos and decrescendos without affecting the master volume of a MIDI instrument. In the MIDI specification, Control Change (CC) 7 is reserved for controlling the master volume of an instrument, and CC 11 is reserved for expression.
Because MIDI was used almost exclusively in synthesisers and keyboards for a long time, a hands-free solution for expression control was needed. Enter the expression pedal.
What is an Expression Pedal?
Volume and Wah pedals are well known guitar effects, so a similar pedal that controls other parameters is a great idea! MIDI CCs are technically able to transmit whatever data you like. Manufacturers and users are not necessarily locked into using the CCs exactly as they are described by the MIDI association. So, although we still call them "expression pedals" they are rarely used to control crescendos and decrescendos as originally intended.
How do Expression Pedals work?
An expression pedal creates a varying voltage using a potentiometer. When the pedal all at the heel-down position the voltage is very low, and when it is in the toe-down position, it reaches its maximum voltage. This voltage is sent to a TRS jack on a MIDI device of some sort and the variation in voltage is converted to MIDI data. 0-127 (0-100%).
Most MIDI controllers that support expression pedals will let the user assign a MIDI CC of any number (not just CC 11), to vary the CC value from 0-127. You could liken this to a MIDI control knob that you turn with your feet.
More advanced MIDI controllers allow you to assign multiple CC numbers to a single pedal. When you move the pedal, it's like turning multiple knobs or moving multiple sliders. This is where the expression pedal settings on the BRIDGE6 and BRIDGE4 MIDI controllers need explaining.
How Do I Add Expression Messages on My BRIDGE6 or BRIDGE4?
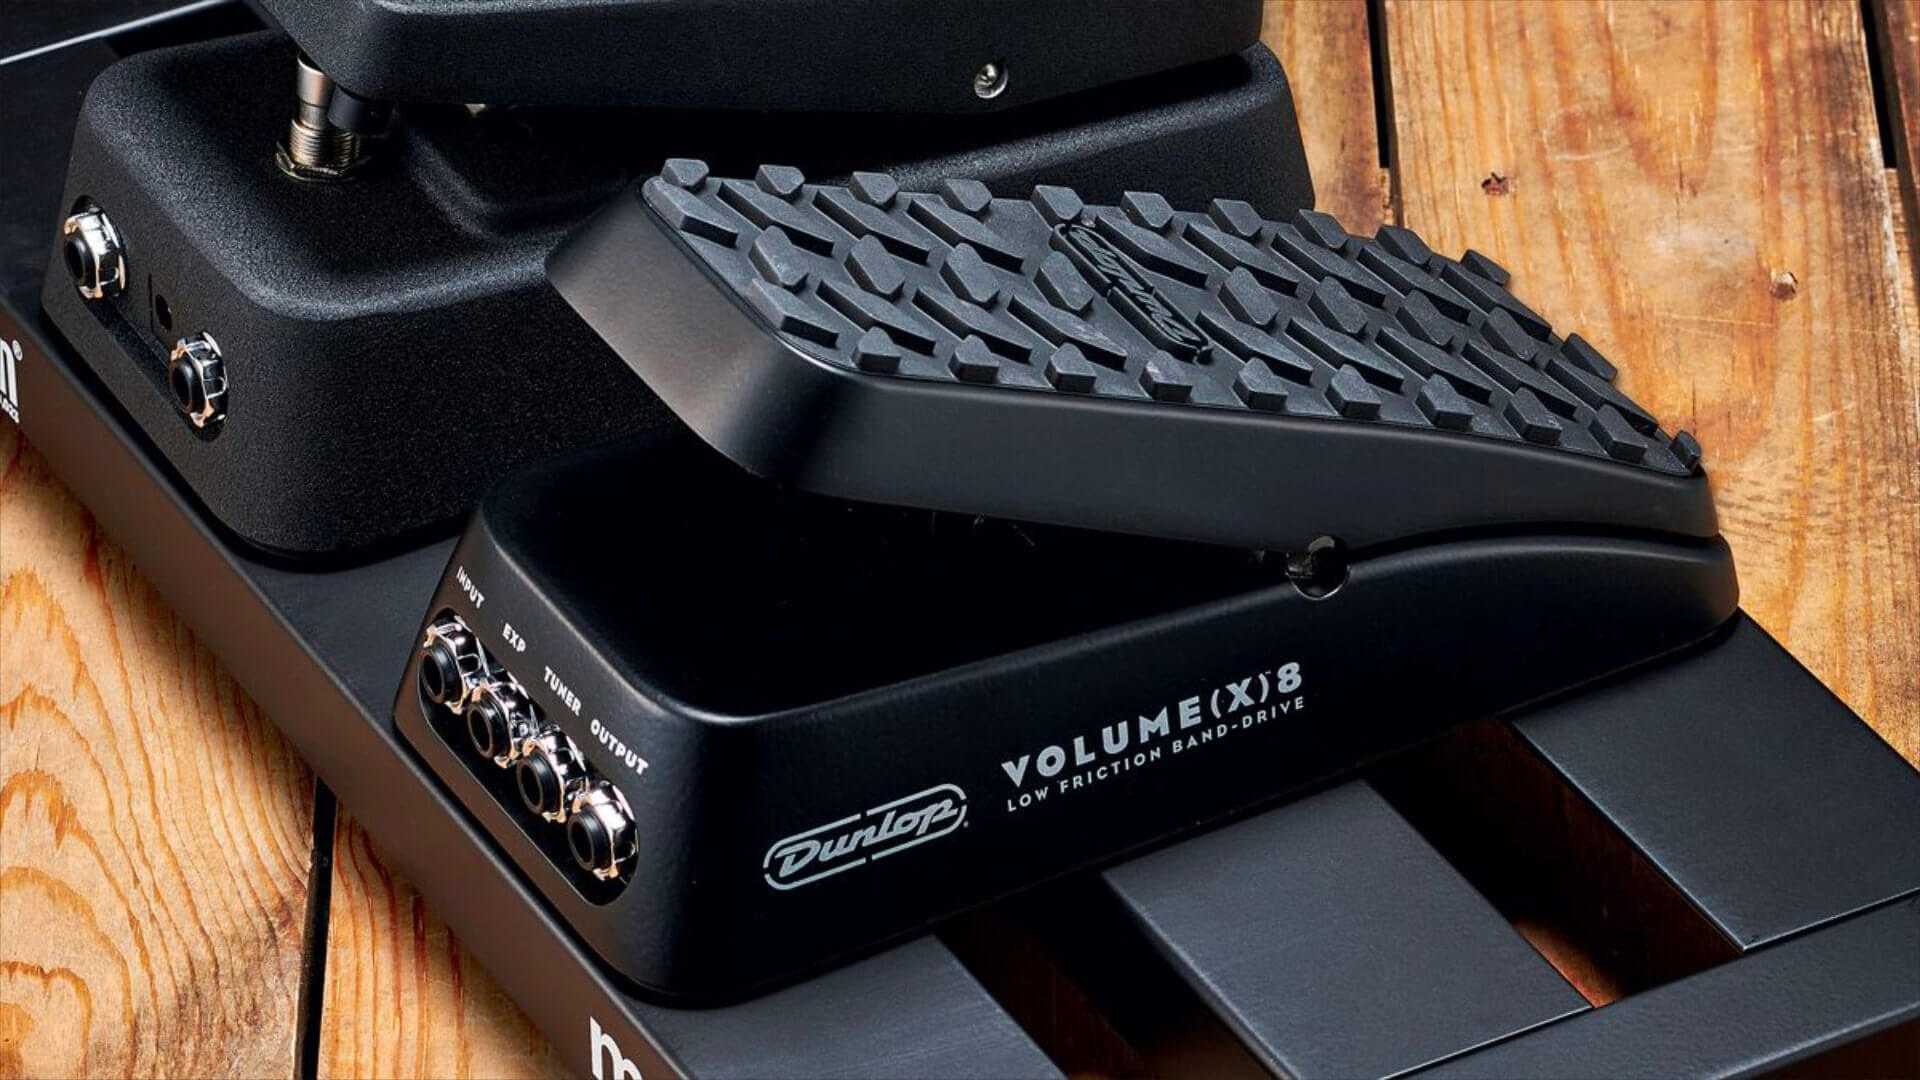
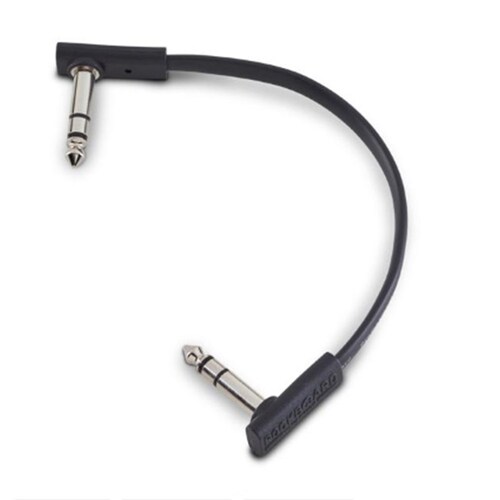
To connect an expression pedal to a BRIDGE controller, you must use a pedal that is designed for expression use and which also uses a TRS connection.
See pictures below to check that you are using the correct type of cable.
Next, you need to make sure that the Flexiport you wish to use has been set to "Exp In" mode.
Do this by going to: Menu>Global>Flexiports>Flexiport 'x'>Mode>Exp In
If you have the default (extended) UI enabled, you will see a bar graph appear in the Flexiport section of the main screen when you exit the menu. See image below. This shows that the Flexiport is ready to accept expression pedal input and convert it into MIDI. But first you have to choose what you want the MIDI to be!
How To Set MIDI Expression Messages
To make the BRIDGE send MIDI when you move the pedal, you need to tell it what MIDI to send. There are two ways you can do this: bank-level expression messages and global expression messages.
A bank-level message means that when you change banks on the BRIDGE, the message/s that your expression pedal sends can also change. Global messages are sent regardless of which bank you are on.
Adding a MIDI message to an expression pedal is the same process as adding a MIDI message to a footswitch except there are some extra option in a 3rd screen.
To add a message to the bank-level expression messages, go to:
Menu>Exp Pedals>Exp 'xx'>Bank Messages
To add a message to the global expression messages, go to:
Menu>Global>Global Exp Pedals>Exp 'xx'>Messages
When you enter these menus, you will be able to add the MIDI message you want to use with the expression pedals.
What Message Types Can I Send with an Expression Pedal?
You can add up to 8 MIDI messages to any expression pedal message stack - bank-level or global. Message types supported for expression pedals are:
- Control Change (CC)
- Channel Pressure (Aftertouch)
- Pitch Bend
- Poly Pressure (Poly Aftertouch)
These are MIDI messages that generally support live value changes. Messages like Program Change and Note On/Off don't work with changing values in the same way, so they are not available as expression messages.
Using FS6 on the BRIDGE6 or FS4 on the BRIDGE4, you will need to navigate right, until you enter the second screen of settings. Here you can set which MIDI outputs you want the message to be sent to. You can limit one expression message to be sent only to the USB MIDI out, and then add another expression message which is sent only to a Flexiport MIDI out.
Now, navigate further right until you get to the third screen. Here you will see three settings:
- Min
- Max
- Sweep
Min
This sets the minimum value that will be sent when the pedal is in the full heel-down position. If you want to limit the range of the MIDI values sent, use this to set the lower limit.
Max
This sets the maximum value that will be sent when the pedal is in the full toe-down position. If you want to limit the range of the MIDI values sent, use this to set the upper limit.
Once you have set the Min and Max limits, the pedal will interpolate the values from Min to Max across the full movement range of the pedal.
Sweep
This setting gives you the choice to change the way values are spread across the full range of the pedal. A linear sweep means that the values will be spread evenly from 0-100%
Some applications (like volume) require a different spread of values to sound more natural. Other controls may just sound better with values concentrated around the top or the bottom of the sweep. We have given you six option to play with:
- Linear
- Logarithm
- Reverse Logarithm
- Inverse Linear
- Inverse Logarithm
- Inverse Reverse Logarithm
The Inverse setting will put the Min value at the toe-down position, and the Max value at the heel-down position, inverting the range.

Now you can save the message, exit the menu, and listen to your pedal change the parameters you set!
How Do I Calibrate My Expression Pedal?
Some pedals may have some variance in the values they send to the MIDI controller at the toe-down and heel-down positions. To make sure this doesn't affect the ability to send the full range of MIDI values, you can calibrate your expression pedal with the BRIDGE6 or BRIDGE4. Go to:
Menu>Global>Global Exp Pedals>Exp 'xx'>Calibrate
This feature will be released in v1.1.0 major update, and is not yet active.
Hopefully this guide has helped you understand how the BRIDGE6 and BRIDGE4 control expression pedal MIDI messages. More details and menu explanations are available in the User Manuals. If you have any questions, you are welcome to join our Facebook group and ask the community, or email us directly at support@piratemidi.com