
How to Limit the Number of Banks on a BRIDGE controller
Use this shortcut to limit the number of banks you need to scroll through
Setting up your "Active Bank" Range
If you just want to use a small number of banks to limit scrolling, or want to create sections of banks that won't accidentally scroll into the next section, check out this 2-minute tip:
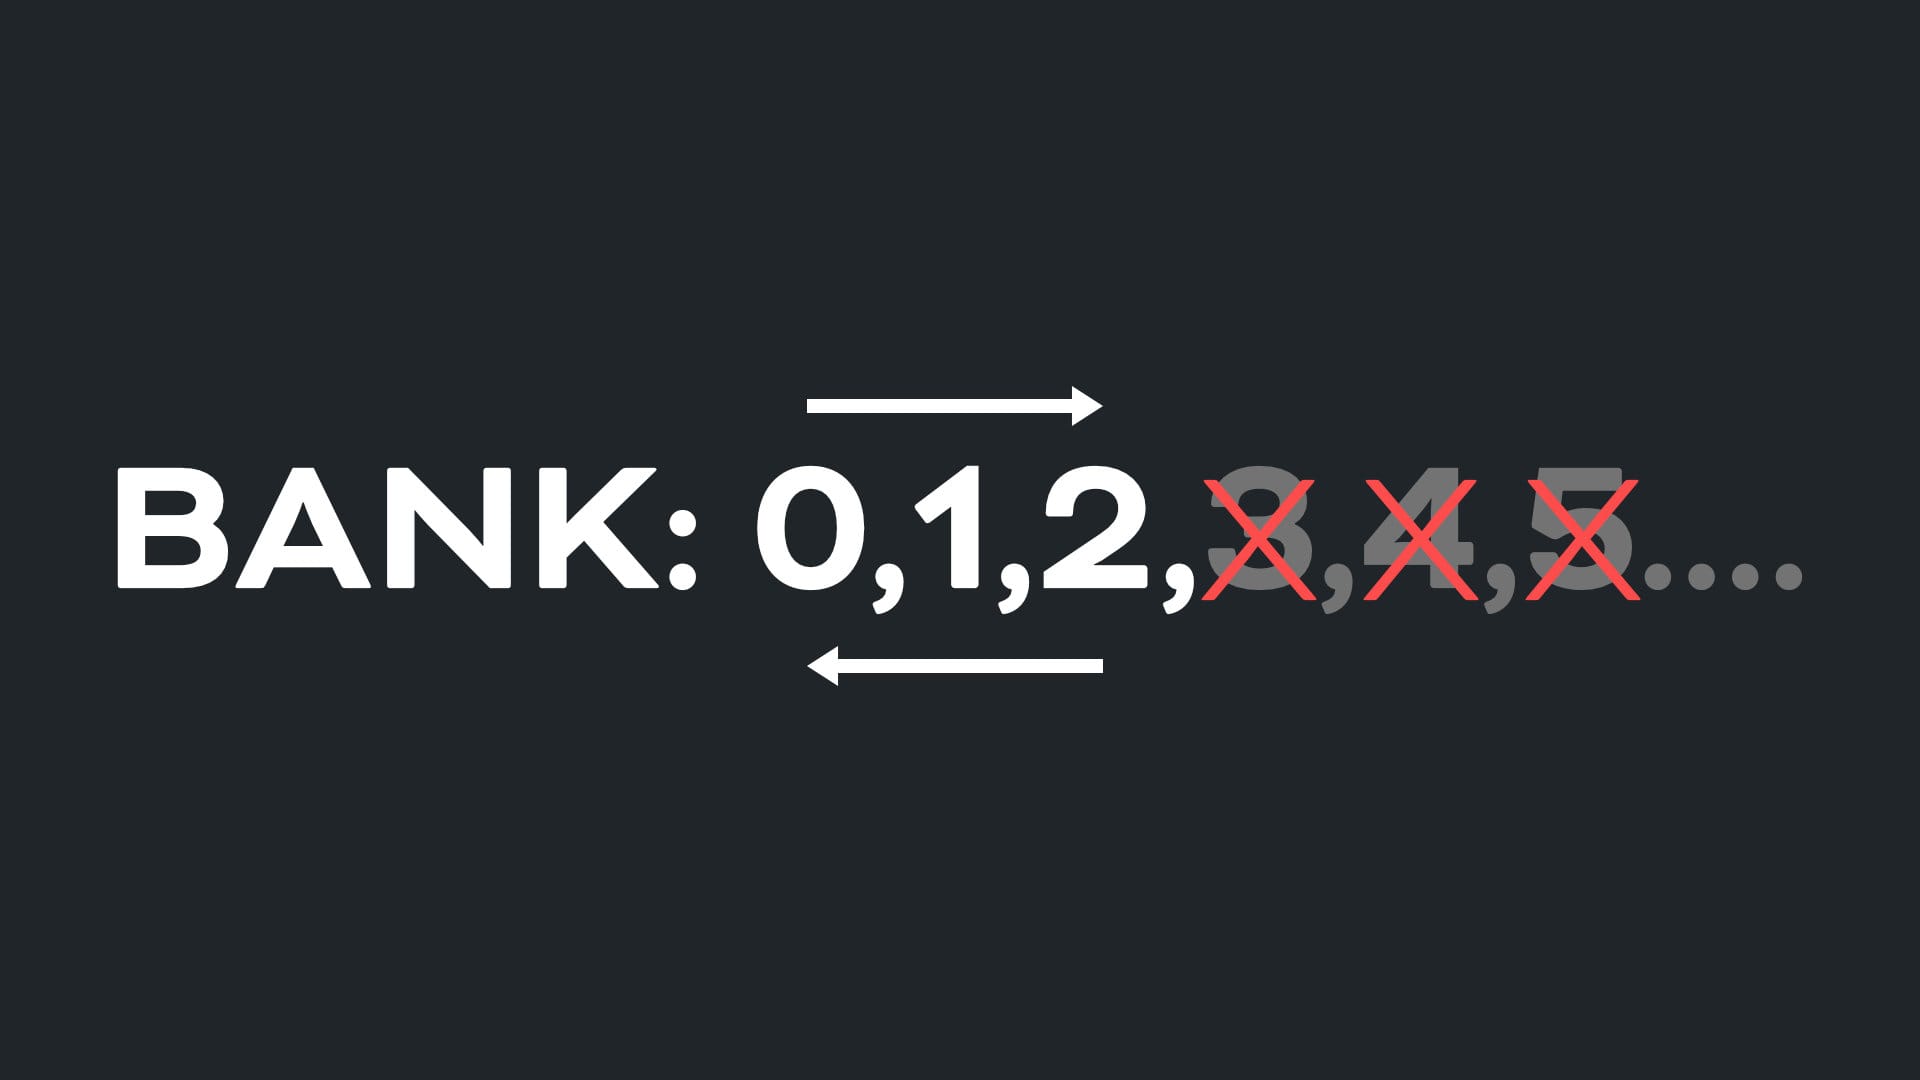
- Choose your start and end banks - we'll use Banks 0, 1, and 2 as our "active" banks.
- Identify the two banks on either side of your "active" banks. If you bank down from Bank 0, you hit Bank 99. If you bank up from Bank 2, you hit bank 3.
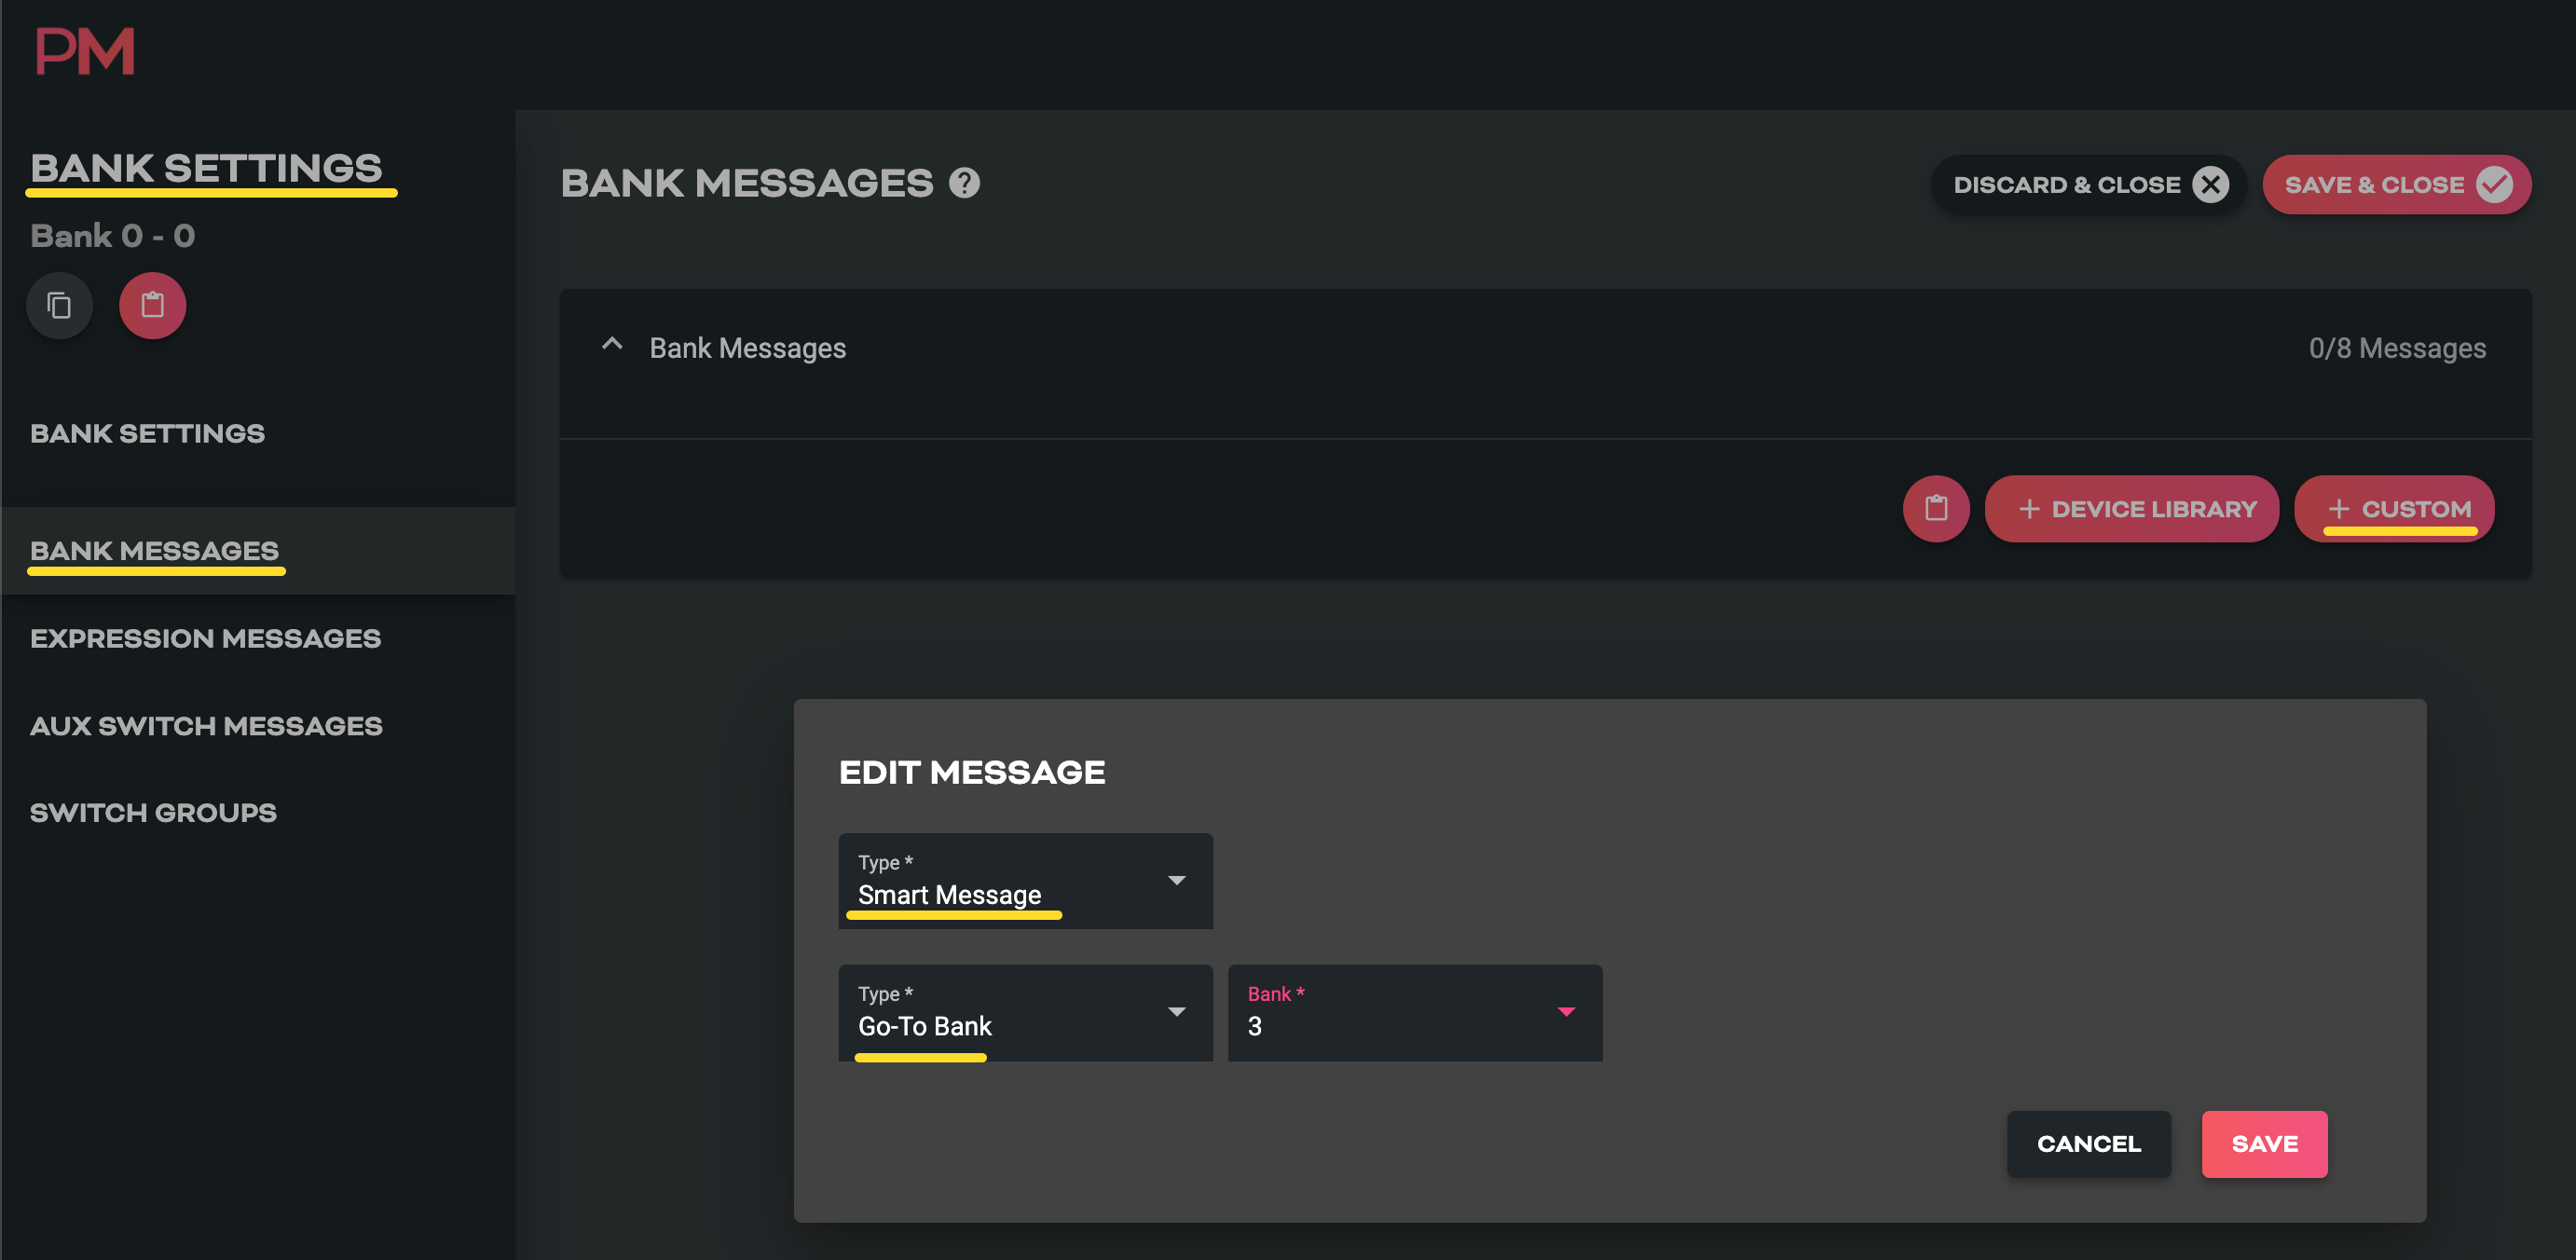
- Add "Go to Bank" Smart Messages to the "Bank Messages" section of the two banks immediately outside these "active" bank. In our case, bank 99 and bank 3.
- Set the "Go to Bank" for Bank 99, to jump to bank 2, and for Bank 3, to Bank 0. Now when you try and scroll past Bank 2 (to Bank 3) you will be returned to Bank 0, and when you try to bank down from Bank 0 to Bank 99, you will be sent to your top "active" bank instead - Bank 2.
Setting Bank Messages
Onboard: Menu > Bank Messages > Add
Editor: Bank Settings > Bank Messages (See screenshot below)
What are Bank Messages?
Bank Messages can be any MIDI or Smart Message and are sent as soon as you enter a Bank. They can be used to get your MIDI device into the default state you want them in for that particular bank, without pressing any switches. Great for changing songs or song sections or scenes.
As demonstrated above, using Smart Message allows you to build some very flexible and powerful automations that help you think less and create more!